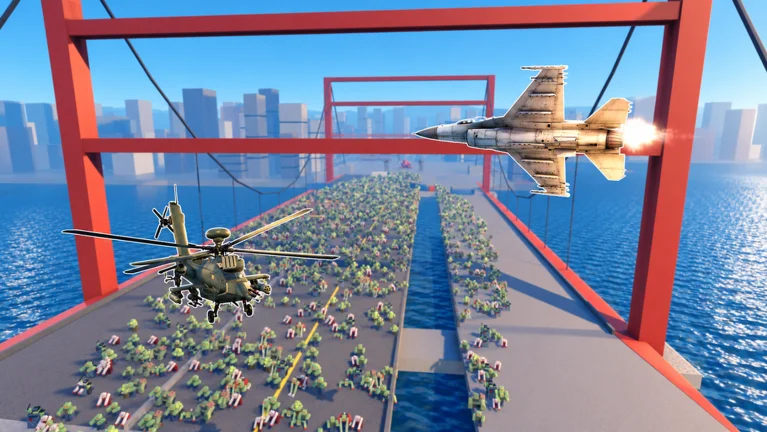
- Zombie Air Force best strategy starts with area damage upgrades, then survivability, then defense.
- Target priority: control special enemies and Behemoths before tunneling on standard zombies.
- Co-op rule: split roles so one player clears groups while another focuses elite targets.
- Farming rule: repeat the highest stage you clear reliably, not the hardest you can enter.
- Resource discipline: concentrate Credits on one primary role before diversifying.
Core Strategy Principles
Zombie Air Force is a co-op PvE zombie defense shooter built around aerial attacks, wave management, and frontline pushing. The best strategy does not come from any single weapon — it comes from how you sequence damage, positioning, and upgrades across each mission.
Three principles decide most runs:
- Damage uptime beats burst: staying alive in a safe position produces more total damage than overcommitting early.
- Wave control before boss damage: a Behemoth encounter fails more often from unmanaged standard zombies than from the boss itself.
- Focused investment: Credits spread across every upgrade path produce a weak build; Credits concentrated on one role produce a strong one.
Before every wave, hold back at least one powerful attack option — rockets or an airstrike — for special enemies or a Behemoth spawn. Teams that dump everything at wave start lose runs in the final third of a mission.
Upgrade Priority: The Winning Order
Your first Credits should always build a reliable damage foundation. The table below shows the sequence that works across solo and co-op progression:
| Order | Upgrade Area | Priority | Best Stage | Why It Wins |
|---|---|---|---|---|
| 1 | Primary Damage | High | Early game | Shortens fights, reduces pressure on defenses |
| 2 | Area Damage | High | Early-mid | One attack affecting multiple zombies controls dense waves |
| 3 | Survivability | High | Mid game | Longer missions punish offense-only builds |
| 4 | Defense Performance | Medium | Mid-late | Matters once enemies survive multiple attack cycles |
| 5 | Resource Efficiency | Medium | Late game | Better long-term returns after combat build is stable |
| 6 | Build Specialization | Situational | Late game | Commit to a role only after core needs are covered |
Players often skip survivability because early waves fall easily. Mid-game missions and Behemoth pressure punish any build that invested only in offensive output — add durability before attempting higher difficulty content.
Best Builds by Playstyle
No single build covers every situation. Match your loadout to the objective:
Solo Progression Build
- Role: balanced damage and survivability
- Core: primary damage weapon, area-of-effect option, emergency utility
- Best for: solo progression, learning new stages
- Weakness: does not maximize any single damage category
Fast Clear Build
- Role: high-tempo crowd clearing
- Core: fast-firing weapon, wide-area damage, mobility utility
- Best for: rapid wave clears and short farming runs
- Weakness: struggles against high-health targets alone
Co-op Defense Build
- Role: sustained team protection
- Core: sustained-damage weapon, area control, defensive support
- Best for: multiplayer missions and fixed-area defense
- Weakness: lower burst damage than offensive builds
Behemoth Damage Build
- Role: focused damage on large threats
- Core: high single-target weapon, precision option, defensive utility
- Best for: boss encounters and high-difficulty survival
- Weakness: inefficient against standard zombie groups
Step-by-Step: Executing a Winning Run
Follow this sequence in every mission to convert a good build into consistent clears:
Read the Wave Before Committing
Watch the wave indicator and identify the main attack direction. Note where special enemies and Behemoths are likely to spawn before spending powerful attacks.
Control Groups with Area Damage
Aim aerial attacks at clustered enemies instead of isolated low-threat targets. One well-placed area attack outperforms several scattered shots.
Deploy Defenses on Approach Routes
Place defensive structures near important approach lanes and high-value objectives. Reinforce weak areas during the gap between waves, not during them.
Assign Behemoth Damage Separately
In co-op, dedicated damage players attack the Behemoth while control players manage standard and special enemies. Never let the whole team tunnel on the boss.
Keep an Escape Route Open
Reposition before your area becomes crowded. Movement available under pressure is worth more than a few seconds of extra stationary damage.
The most productive farming route is the highest repeatable stage that does not produce frequent failures. A slightly easier stage cleared consistently outperforms a harder stage with repeated losses.
Enemy Priority and Threat Response
Target priority should be based on immediate danger rather than health alone:
| Enemy | Threat | Behavior | Best Response |
|---|---|---|---|
| Standard Zombies | Low-medium | Group pressure at close range | Area damage on clusters, keep moving |
| Special Enemies | Medium-high | Disrupt positioning, shrink safe space | Identify early, focus fire when threatening |
| Behemoths | Very high | Heavy sustained pressure over a large area | Dedicated focus fire, keep distance, control adds |
In co-op, have one player call targets while the rest maintain crowd control. Duplicating the same build role leaves the team exposed to threats that build cannot handle.
Strategy Checklist
Before Your Next Session:
- Invest first Credits into primary damage upgrades
- Add area damage before attempting dense-wave stages
- Purchase survivability upgrades before higher difficulty
- Define your role: crowd clear, boss damage, or defense
- Choose a farming stage you clear without frequent failures
FAQ
Q: What is the best strategy for new Zombie Air Force players?
Start with a solo progression build: primary damage weapon, an area-of-effect option, and emergency utility. Upgrade primary damage first, then area coverage, then survivability. This flexible setup works against both groups and durable targets while you learn each stage.
Q: Which upgrades should I buy first in Zombie Air Force?
Primary damage first — it shortens battles and reduces pressure on defenses. Area damage is the second priority because wave-based missions become far more manageable when one attack affects several zombies. Survivability comes third, before attempting harder content.
Q: How do I beat Behemoths efficiently?
Use a Behemoth damage build with high single-target output, keep enough mobility to avoid boss pressure, and preserve escape routes. In co-op, assign focused damage to the Behemoth while other players control the standard enemies — do not let the entire team ignore the wave.
Q: How should a co-op team divide roles?
Assign one player to area damage for crowd clearing, one to focused damage for special enemies and Behemoths, and one to defensive support. Duplicating roles leaves gaps in coverage and is the most common reason coordinated teams still fail long missions.