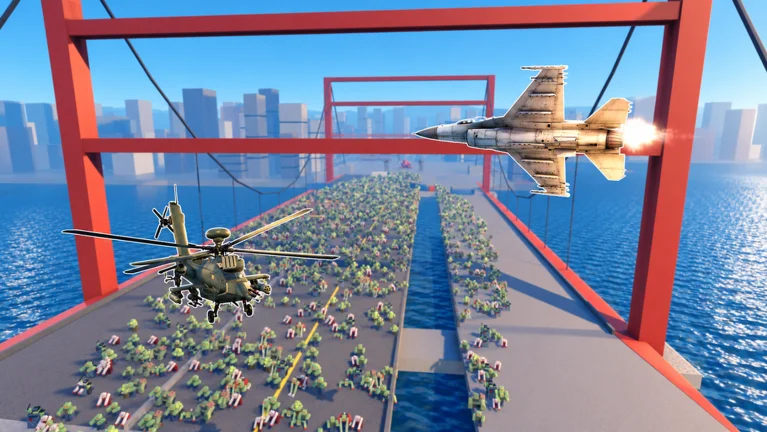
- Zombie Air Force tips and tricks start with target priority, not raw damage numbers
- Area damage wins dense waves; focused damage wins Behemoth fights
- Upgrade primary damage first, survivability second, efficiency last
- Keep an escape route open at all times — crowded skies lose runs
- Farm the highest stage you clear reliably, not the hardest one available
Core Zombie Air Force Tips and Tricks
Zombie Air Force is a co-op PvE shooter where you pilot aircraft against zombie hordes and giant Behemoths, using rockets, machine guns, airstrikes, and deployable defenses to push the frontline. The players who progress fastest are not the ones with the most unlocks — they are the ones who understand wave control, positioning, and resource discipline. These Zombie Air Force tips and tricks focus on repeatable habits that improve survival and Credits per run.
| Tip | Category | Why It Matters | Impact |
|---|---|---|---|
| Aim at clustered enemies | Combat | One pass can damage many targets | ★★★★★ |
| Keep an escape route open | Survival | Reposition before the area closes in | ★★★★★ |
| Watch the wave before committing | Awareness | Save burst for specials and Behemoths | ★★★★☆ |
| Deploy defenses on approach routes | Defense | Slow enemies before they reach objectives | ★★★★☆ |
| Farm content you clear reliably | Credits | Consistent completion beats risky losses | ★★★★☆ |
Threat level matters more than enemy health. Clear enemies that restrict movement or threaten the objective before dumping damage into a durable target. A safe position produces more damage uptime than standing still in danger.
Combat Fundamentals: Waves, Weapons, and Positioning
Every mission in Zombie Air Force is a wave-control problem. Standard zombies apply pressure through numbers, special enemies disrupt your safe space, and Behemoths bring heavy sustained attacks over a large area. Handling each category correctly is the foundation of every other trick in this guide.
How to read a wave:
- Watch the wave indicator and identify the main attack direction before enemies arrive
- Identify special enemies the moment they appear — never let them act freely
- Reserve rockets and airstrikes for dense clusters or boss phases, not isolated targets
- Reinforce weak defensive positions between waves, not during them
Do not spend every powerful ability the moment a wave begins. Teams that unload everything early get overwhelmed when a special enemy or Behemoth arrives mid-wave. Keep enough damage and defensive resources for the hardest portion of the run.
Enemy Priority and Behemoth Tactics
Enemy priority should be based on immediate danger rather than health alone. This section breaks down how to handle each threat tier and how to divide roles in co-op.
| Enemy | Threat | Attack Pattern | Recommended Response |
|---|---|---|---|
| Standard Zombies | Low-medium | Close-range group pressure | Area damage on clusters, keep moving |
| Special Enemies | Medium-high | Disrupts positioning, shrinks safe space | Identify early, focus fire when threatening |
| Behemoths | Very high | Heavy area attacks, sustained pressure | Focused damage, keep distance, preserve escape routes |
Area Damage Role
- Controls standard zombie groups
- Frees teammates for priority targets
- Strongest during dense waves
Focused Damage Role
- Assigned to specials and Behemoths
- Shortens boss encounters
- Needs accurate target priority
Defense Role
- Manages lanes and objectives
- Reinforces weak positions
- Creates safer attack windows
Never tunnel on the boss. While dedicated damage players attack the Behemoth, at least one player must keep controlling standard and special enemies. Adds left unanswered will collapse your positioning faster than the Behemoth itself.
Upgrade Priorities and Build Choices
With 180+ upgrades available, spreading resources thin is the most common progression trap. Concentrate early Credits on the role that defines your build, then cover its weaknesses.
| Upgrade Area | Priority | Best Stage | Focus |
|---|---|---|---|
| Primary Damage | High | Early game | Reliable damage shortens battles |
| Area Damage | High | Early-mid | One attack affecting multiple zombies |
| Survivability | High | Mid game | Durability prevents failed missions |
| Defense Performance | Medium | Mid-late | Lane control and objective protection |
| Resource Efficiency | Medium | Late game | Farming speed and reward value |
| Build Specialization | Situational | Late game | Commit to a preferred role combo |
Pick One Primary Role
Decide whether you are the wave-clear player, the boss-damage player, or the defense player before spending anything.
Maximize Core Damage
Put early Credits into your main damage source until it reliably clears the waves you face.
Add Survivability
Once missions get longer, invest in durability and defensive tools so one bad wave does not end the run.
Branch Into Support Upgrades
Only after damage and survival are stable should you invest in efficiency and specialization.
Solo progression favors balanced damage-and-survivability builds that work against both groups and durable targets. In co-op, avoid duplicating roles — one player on area control plus one on focused damage outperforms two identical damage builds.
Credits Farming and Session Checklist
Credits are most valuable when they improve clear speed or survival. Compare the reward source against the time and risk involved, and farm accordingly.
| Source | Efficiency | Recommended Method | Best Use |
|---|---|---|---|
| Standard stage completion | Consistent | Repeat the highest stage you clear reliably | Early upgrades |
| Wave and survival runs | Higher with defensive builds | Sustained damage plus crowd control through late waves | Mid-late funding |
| Co-op runs | High when coordinated | Assign clear roles instead of duplicating builds | Expensive upgrades |
| Repeatable bonuses | Varies | Claim only when they do not slow better runs | Supplemental income |
A slightly easier stage with consistent completion outperforms a harder stage with repeated losses. Failed runs pay nothing — reliability is the real Credits multiplier.
Every-Session Checklist:
- Check the wave indicator and main attack direction before each wave
- Confirm at least one escape route is open
- Hold rockets or airstrikes for clusters and boss phases
- Reinforce weak defenses between waves
- Spend Credits on your primary role before anything else
FAQ
Q: What is the most important Zombie Air Force tip for beginners?
Target priority. Clear enemies that block movement or threaten the objective before spending damage on durable targets. This single habit improves survival in both solo and co-op runs more than any early upgrade.
Q: Should I upgrade damage or survivability first?
Damage first. Reliable damage shortens battles and reduces pressure on your defenses. Add survivability once missions get longer and stronger waves start punishing pure-offense builds.
Q: How do I deal with Behemoths efficiently?
Assign focused damage to the Behemoth while other players control the remaining wave with area damage. Maintain distance, preserve escape routes, and never let the whole team tunnel on the boss while adds pile up.
Q: What is the best way to farm Credits?
Repeat the highest stage you can clear without frequent failures, and use co-op runs with clearly divided roles when possible. Claim optional repeatable rewards only when they do not slow down more profitable runs.